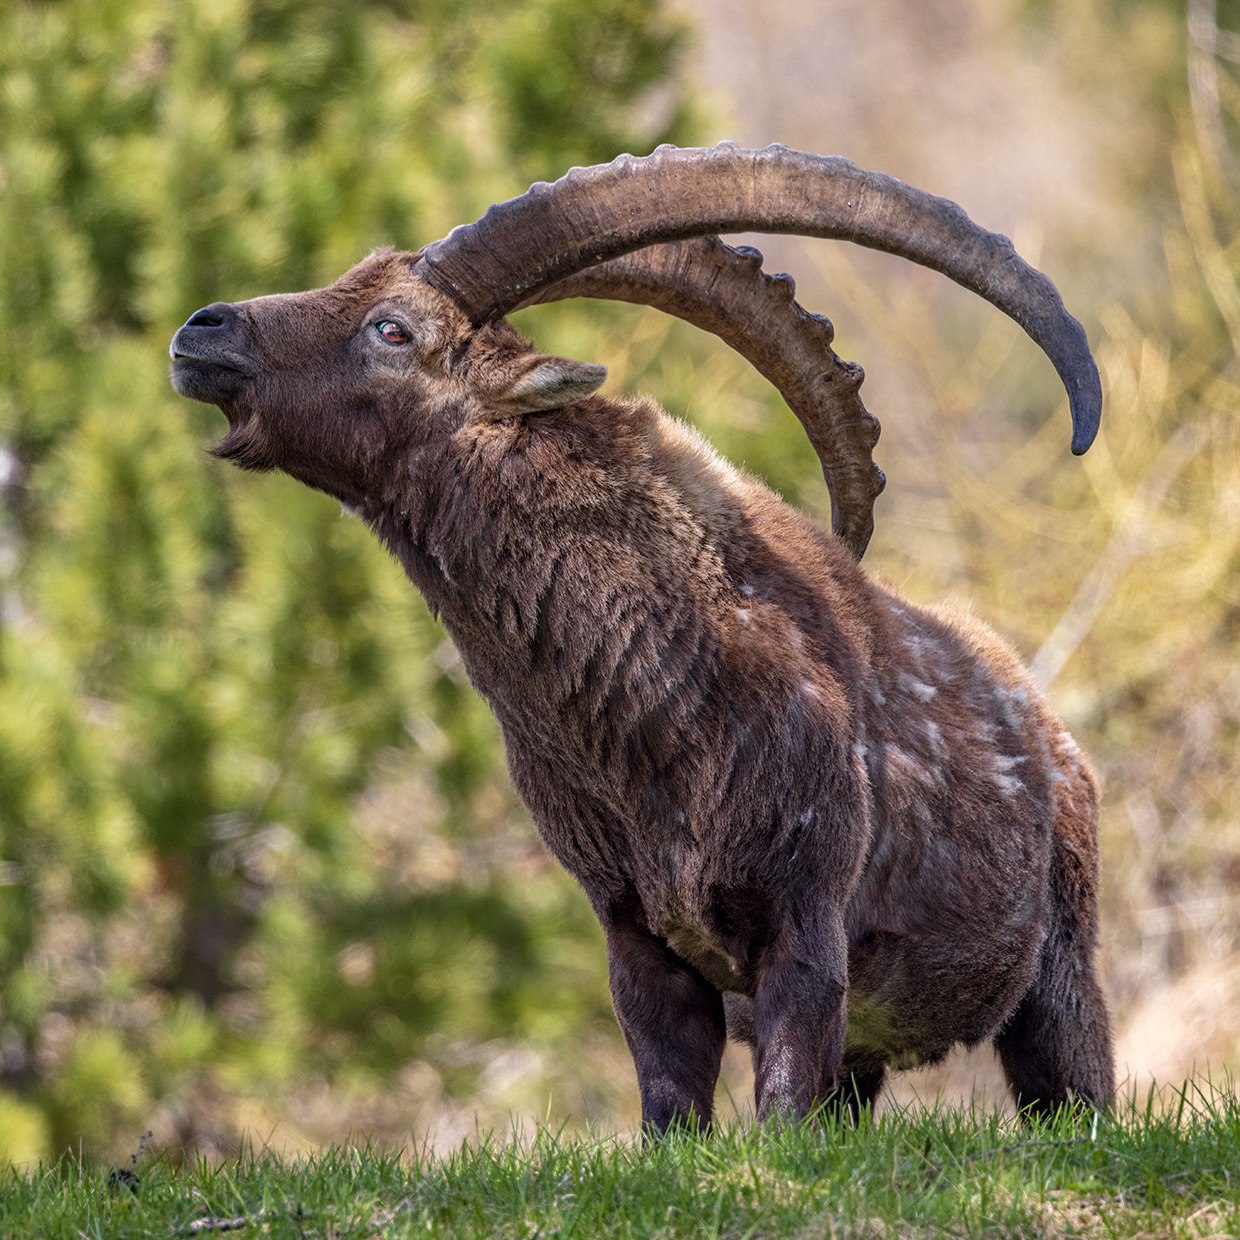
Not everyone has access to a fast tele-photo lens that creates silky smooth backgrounds. Here's a post-production workflow to reproduce that look in Photoshop CC. It works particularly well for subjects without overlapping foregrounds.
- Create a copy of the background layer and choose >Select >Subject (refine selection if needed)
- Select >Layer >New >Layer via Cut
- Hide the background and the top layer and use the Magic Wand tool to select the transparent cut-out(s) on the background copy
- >Select >Modify >Expand >Expand by e.g. 20 pixels (depending on the resolution of your image) and >Edit >Fill >Content Aware
- De-select the selection and make all layers visible
- On the background copy select >Filter >Blur Gallery >Field Blur to blur the background
- Add a white layer mask and on it trace the contours of the subject with a soft black brush (e.g. 5-10 pixels), covering all edges (incl. e.g. hairs, feathers etc)
- Re-select the background copy and zoom in to >100% on an edge of the subject to see the image noise on the traced edges
- Select >Filter >Noise >Add noise (monochromatic) until the background noise matches the noise of the traced edges
First seen in a Video Tutorial shared by Will Goodlet